This week on Beyond the Cupola we feature Jennifer Rudd, an IT Specialist here at Oconee State Bank. Like many of us, Jennifer finds value in doing things herself. She enjoys working on personal DIY projects to add a little flair to her home. Today Jennifer will be showing us the in’s and out’s of one of her DIY projects.
Those who know me well know that I almost always have a project in process. I’m a sucker for all things DIY! Upcycling and refurbishing furniture is one of my favorite pastimes. I have painted and repurposed several pieces of furniture that I proudly display in my home. I’m incredibly lucky that my husband is a skilled handy-man and always helps make my dreamy Pinterest projects a reality. Watch out Chip and Joanna! (Haha)
I like to think that I inherited creativity from both sides of my family. I share a love of decorating with my Gramma Shirley who has an incredible eye for design, but I think my interest in repurposing furniture was sparked at an early age by my Grandma Mollie. Grandma Mollie was known to repaint and repurpose the furniture in her home multiple times over and she certainly had a knack for artistry. When she passed away, I was privileged to become heir to some of her furnishings. Being true to my roots, I have chalk painted them and given them all a new look to which I know she would most certainly approve.
There’s just something about a fresh coat of paint or stain that breathes new life into an old piece. A few months ago my sister’s mother-in-law asked me to refinish an old wooden rocking horse that was gifted to her son, my brother-in-law, as a child. My sister and her husband are due to have their first child this summer and I could not think of a more special gift to celebrate the occasion. I didn’t hesitate to accept the task and decided to document the process to share.
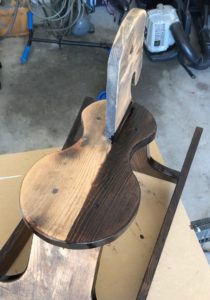
My first step was to sand down the finish of the rocking horse. I used my husband’s orbital hand sander to make the job quick and easy. I was careful to maintain the integrity of the wood and to only remove the surface layer and any rough edges. Here’s what it looked like after the sanding step was complete:
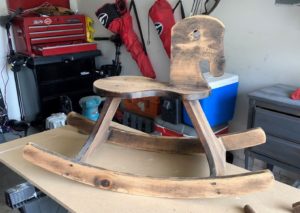
I like to use scraps of an old t-shirt to apply stain because it doesn’t leave lint behind. I use my fingers to manipulate the stain and work it into all of the cracks and crevices of the wood. I chose a dark walnut stain for the rocking horse to give it a true vintage look and feel. Because this piece is over 30 years old, the wood soaked the stain right up. Achieving a rich walnut color required 2 coats.
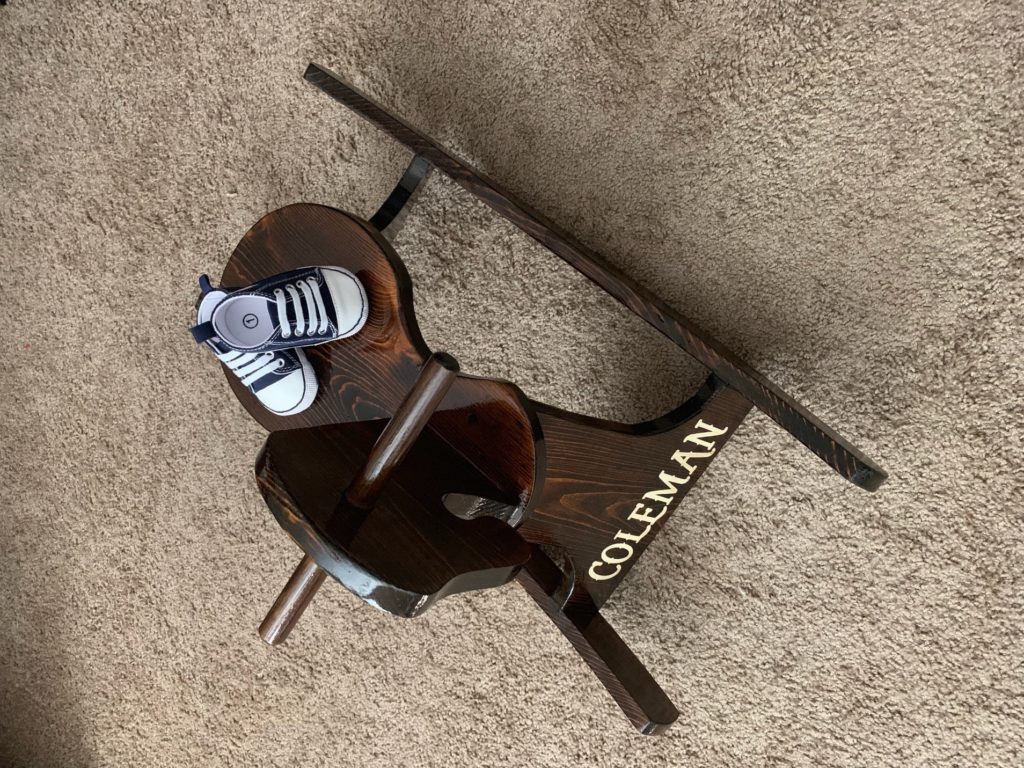
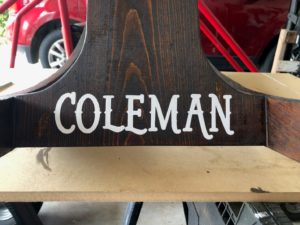
Once the stain was completely dry, I decided to add a personal touch by stenciling my soon-to-be nephew’s name onto the front of the horse. I used my craft cutting machine and stencil material to create the look.
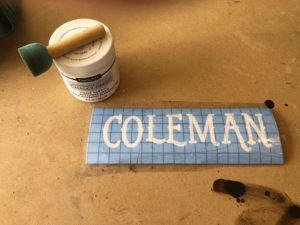
I applied a coat of chalk paint over the stencil using a sponge dabber then removed it immediately while allowing the paint to dry. Chalk paint dries very fast. Leaving the stencil on while the paint dries could cause the design to be compromised when the stencil is removed.
Once the paint was dry, I finished by applying 2 coats of an oil-based polyurethane gloss. This step gave the rocking horse a smooth, mirrored finish and brought out all of the character and charm of the wood. The warm amber-toned grain lines are simply beautiful!
Isn’t it amazing how a little bit of elbow grease and vision can yield such a treasure? This little rocker is sure to provide giggles and entertainment for years to come. As I watched this project come to life, I couldn’t help but think about how my Grandma Mollie would have loved to see the transformation. She instilled in me a passion for innovation and was always a champion for my creations. When I reflect upon her life, that support was invaluable and means everything to me!